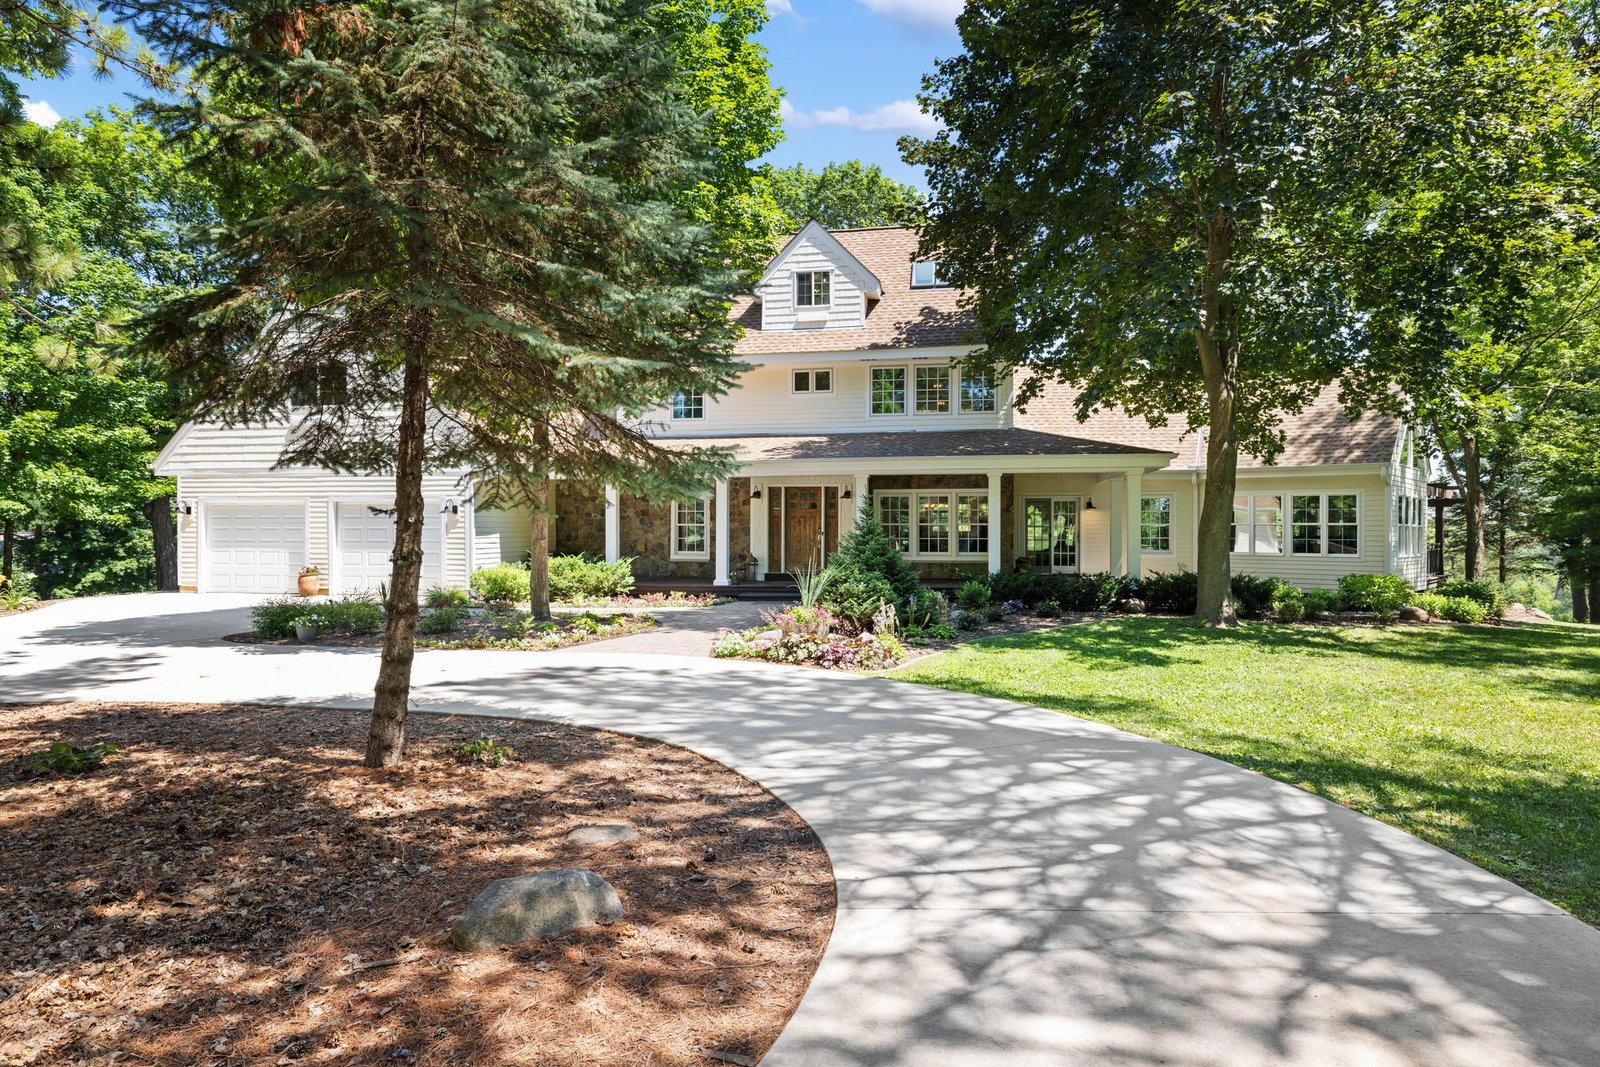
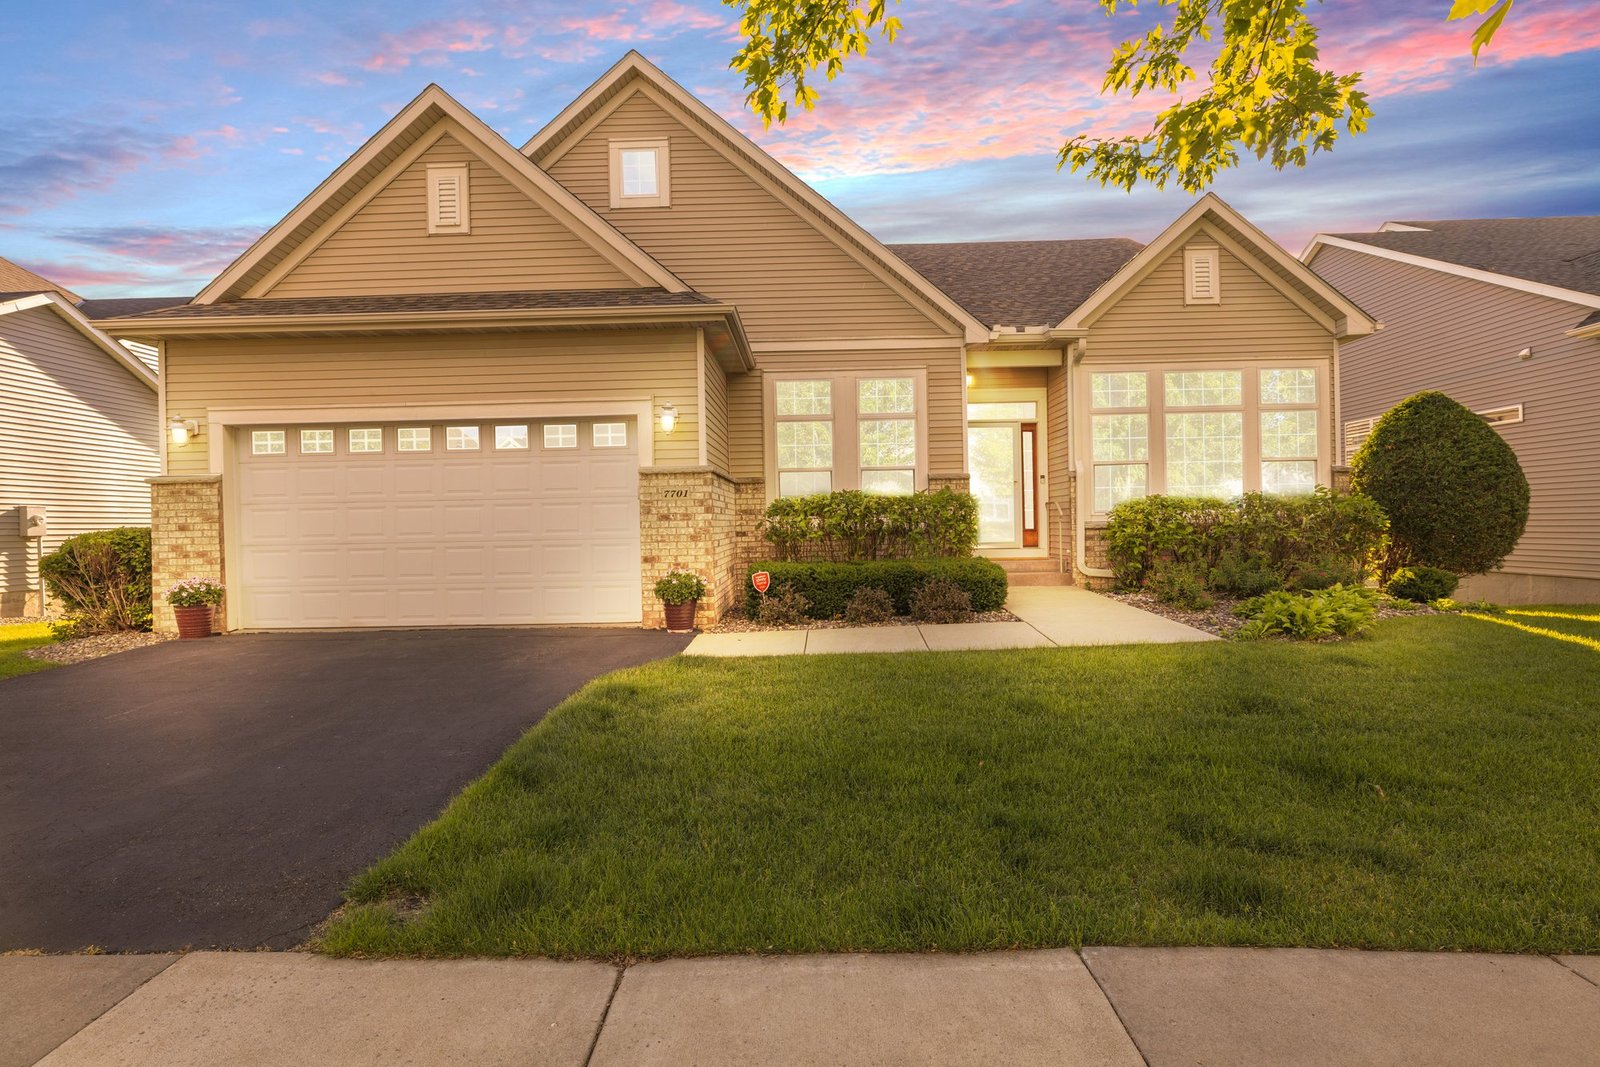
How to Prepare Your Home for Real Estate Photography (35-Point Checklist)
There is a moment on every real estate photo shoot where you walk through the front door, look at a room, and immediately know whether this listing was prepped or not. It's not subtle.
A well-prepped home photographs like a magazine spread. An unprepped home photographs like a Tuesday morning. And buyers scroll past Tuesday mornings in about three seconds.
This guide covers everything sellers need to do before a professional photographer arrives — and everything agents should be telling their sellers right now.
Why Home Prep Matters More Than Most Sellers Realize
Buyers spend an average of just 20 seconds looking at a listing photo before deciding to scroll or click. In that 20 seconds, they're not consciously analyzing every detail — they're feeling something. Does this place look cared for? Does it feel spacious? Can I imagine living here?
Great photography captures great light and great angles. But it can't manufacture a great space out of a cluttered one. Every item on this checklist directly affects what buyers feel in those first 20 seconds.
Research shows that listings with professional photography and well-prepped homes sell up to 32% faster and at prices averaging $11,000 higher than comparable listings with average photos. The prep work is part of what creates that gap.
48 Hours Before the Shoot
Deep Clean Everything
- Wash windows inside and out — natural light is the photographer's best friend, and dirty glass kills it
- Clean all mirrors and glass surfaces
- Steam clean or deep vacuum all carpets and rugs
- Mop hard floors until they shine — reflective floors photograph beautifully
- Clean appliances inside and out (especially the stovetop — it always ends up in the frame)
- Scrub bathrooms: toilets, sinks, tile grout, shower glass, and faucets
Declutter Aggressively
- Remove 50–70% of items from all countertops — kitchen, bathroom, and nightstands
- Clear the refrigerator door completely (magnets, photos, kids' art — all of it)
- Pack away personal photos and family portraits
- Store excess furniture in the garage or off-site — less is always more on camera
- Remove pet beds, bowls, crates, and toys from all rooms
- Clear out coat hooks and visible closet areas if they'll be photographed
Exterior and Curb Appeal
- Mow, edge, and trim the lawn
- Rake all leaves and remove yard debris
- Trim overgrown shrubs and hedges
- Weed garden beds and add fresh mulch if available
- Sweep the driveway and all walkways
- Remove basketball hoops, bikes, toys, and lawn equipment from the driveway
- Consider adding potted flowers near the entrance — a pop of color near the front door creates warmth
The Night Before the Shoot
- Set out fresh, matching towels in bathrooms — white or neutral tones photograph best
- Make all beds with clean, wrinkle-free bedding
- Arrange decorative pillows neatly
- Set the dining table simply — a vase of flowers and a few place settings is perfect
- Clear all bathroom counters to just one or two intentional items (a soap dispenser, a plant)
- Close toilet lids in all bathrooms
- Straighten patio and deck furniture
- Put away grill covers and store propane tanks
The Morning of the Shoot (Last 30–60 Minutes)
This is where listings win or lose. The exterior shot and the first interior photos are what buyers see first — they need to be perfect.
- Move ALL vehicles off the driveway and the street directly in front of the home — including for drone shots
- Turn on every light in every room, including lamps and under-cabinet lighting
- Open all window blinds and curtains to maximize natural light
- Remove all garbage cans from view (inside and outside)
- Put pets in a crate, another room, or take them for a walk — no pets in photos
- Remove all pet-related items from every room that will be photographed
- Clear kitchen counters to just 2–3 intentional items maximum
- Do a final walkthrough of every room with fresh eyes — if something looks off to you standing there, it will look off on camera
Room-by-Room Quick Guide
Kitchen
Clear everything off the counters except a coffee maker (if it's nice), a fruit bowl, and maybe one cookbook. Remove the dish rack, sponges, cleaning supplies, and toaster. Clean the stovetop until it gleams — it will always be in frame. Empty the sink completely.
Living Room
Straighten throw pillows and blankets. Remove remote controls, coasters, and anything on the coffee table except one or two intentional decorative items. Fluff sofa cushions. Remove any cords that are visible.
Master Bedroom
Make the bed as if it's a hotel. Nightstands should have one lamp, one book, and nothing else. Remove personal items, alarm clocks, chargers, and water bottles. Close closet doors.
Bathrooms
Counter should be nearly empty. Fresh towels hung neatly. Toilet lid down, always. Remove toothbrushes, razors, soap scum, and any personal care products. A simple hand soap and a small plant is all you need.
Garage (if being photographed)
Remove vehicles, organize shelves as best you can, and sweep the floor. A clean garage is a real selling point — if it's going to be photographed, make it worth it.
Pro Tips From Our Photographers
"The single most impactful thing a seller can do is remove vehicles from the driveway and the street before we arrive. Parked cars block the facade and kill the exterior hero shot — and that's the first photo buyers see." — Cineminn Photographer
"Turn on every light before we walk in the door. Every lamp, every overhead, every under-cabinet strip. We work with natural light and add artificial sources, but a room with every light already on is a room that's already halfway there." — Cineminn Photographer
Send This to Your Sellers Today
The best agents don't just show up and hope the home looks good. They send a prep guide to their sellers well in advance — typically 48–72 hours before the shoot — and follow up the morning of to confirm everything is ready.
We built an interactive, printable version of this checklist that you can send directly to your sellers. It has progress tracking, room-by-room organization, photo-specific tips, and a print button so sellers can tape it on the fridge.
→ Open the Free Photo Prep Checklist
It's part of our free Listing Launchpad toolkit — which also includes an AI listing description writer, headline generator, and 30-day social media playbook for agents.
The Bottom Line
Great real estate photography starts before the photographer ever walks through the door. The prep work your sellers do in the 48 hours leading up to a shoot is what separates a listing that stops buyers mid-scroll from one that gets skipped over in three seconds.
Send this guide. Follow up. And book a photographer who shows up ready to make the most of a well-prepped home.
Book your next shoot with Cineminn → — photos delivered by 9 AM the morning after, guaranteed.
Try Cineminn on your next listing.
The Shoot ($390) · The Feature ($999) · The Premiere $1,499 · or test The Premiere ($1,499) where we shoot the listing AND run a 14-day buyer-side ad campaign. 5 inquiries in 14 days, or we manage it free until you get them.
See Lead Guarantee →